Dashboard
Monitoring multiple cameras at a glance
The Dashboard is the primary window in CaptureGRID. It provides a live overview of every connected camera, with each camera shown as its own tile in a grid layout. For multi-camera rigs — the common case in CaptureGRID — this is the natural starting point, because the status of the whole rig can be seen on screen at the same time.
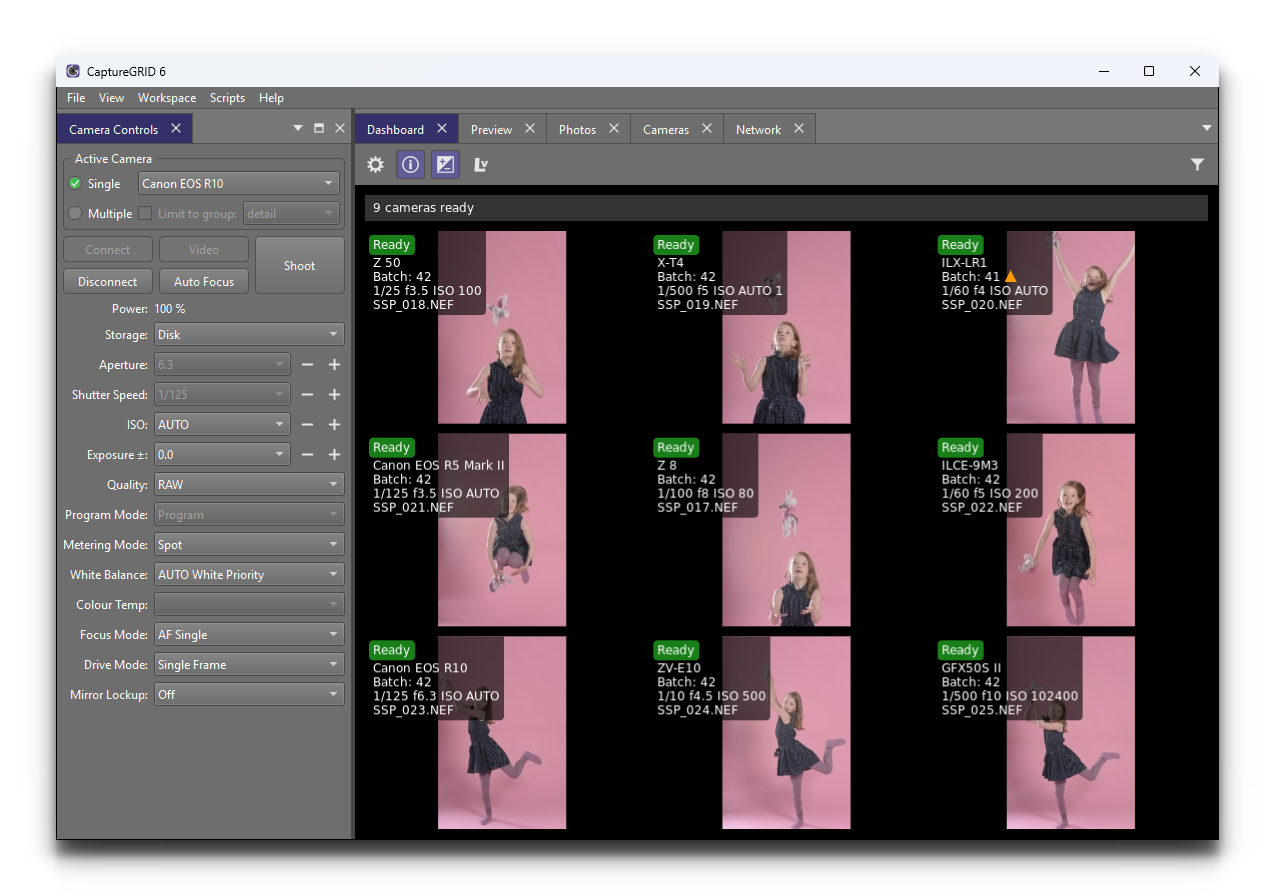
When the app starts, the Dashboard is given default focus. This ensures
that the multi-camera overview is the first thing you see, and that
keyboard shortcuts such as T (take photo) or F (auto focus) act
on the cameras that are visible in the Dashboard. For the full list of
keyboard shortcuts, see Keyboard Shortcuts.
Camera Tiles
Each tile in the Dashboard represents one connected camera, and shows the information you most often need at a glance:
The camera’s name
The current connection and busy status
A thumbnail of the most recently taken photo
Camera-level status indicators
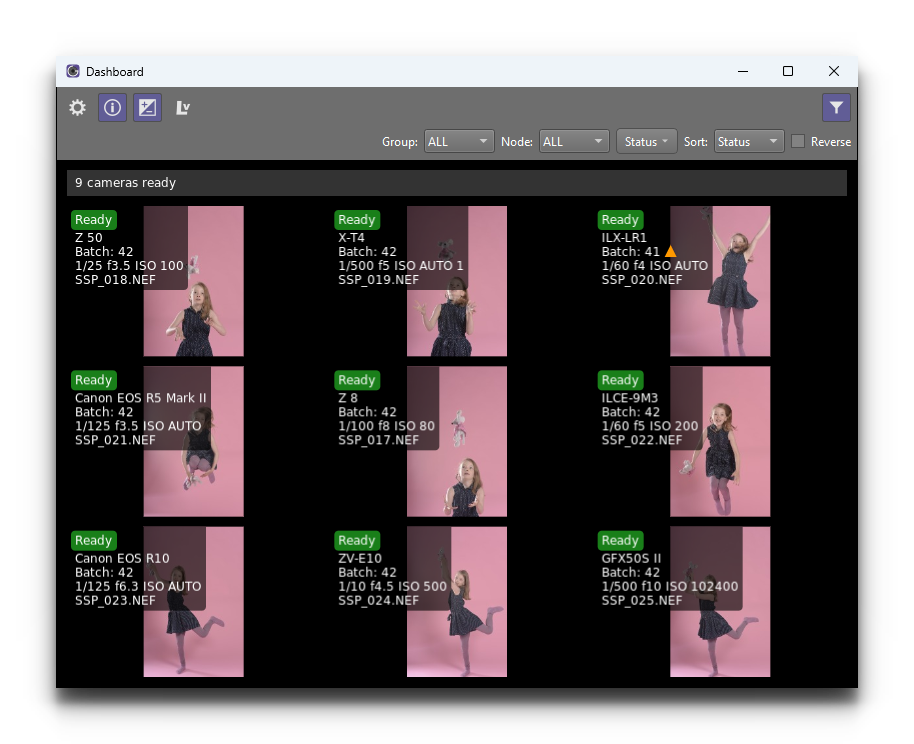
The tiles are arranged in a grid that automatically reflows to fit the available window size. As cameras are added or removed, the layout adjusts accordingly.
Toolbar
A toolbar at the top of the Dashboard provides quick access to view controls, including the Highlight Camera Warnings toggle described below.
Tip
The toolbar’s Highlight Camera Warnings toggle is one of the most useful elements in the Dashboard for live operation. When enabled, any camera with a problem — a disconnection, a batch number mismatch between cameras, or any other condition that could affect the shoot — is highlighted and flashes in the Dashboard tile layout, drawing your attention to it.
During a session, this means a glance at the Dashboard is enough to spot trouble without inspecting every camera tile individually.
Filtering
When working with a large rig, the Dashboard’s filter controls allow you to narrow the visible set of tiles.
- Group
Limits the view to cameras in a specific group. For more on creating and using camera groups, see Active Camera.
- Node
Limits the view to cameras connected to a particular Node on the network. This is useful when running across multiple computers; for more on multi-node operation, see Networking.
Relationship to Other Windows
The Dashboard is the always-on overview. For deeper inspection of any individual camera or photo, the app provides dedicated windows:
For per-camera live view, focus and zoom, see the Live View window described in Viewing Cameras.
For the tabular view of every camera and its settings, see the Cameras window described in Viewing Cameras.
For full-size photo preview, zoom and per-photo actions, see Viewing Photos.
The Dashboard is typically used alongside one or more of these — for example, with the Dashboard docked on one half of the screen and a Preview window on the other, so the rig overview and the most recent photo are both visible at the same time.